———Basement Laundry Room Renovation——-
Whew! Today’s post is a big one! For the past five years, my husband and I have lived in a 1969 ranch style home in Cascade, Michigan, and while we have put a lot of love into every inch of the main level, the unfinished basement had been… neglected. Usually, that wouldn’t be that big of a deal because who spends a lot of time in their unfinished basement, anyway? BUT! In our house, you enter into the home from the garage at basement level, so every day when I would leave and come home, I would walk through the ugliest room in our home - the laundry room. When I say ugly, I mean ugly. I’m pretty embarrassed to even show you the ‘before’ photos and admit that we lived with this for 5 years, but it was such a big, daunting project that it took us that long to face it head on.
BUT! This winter we decided to finally take the plunge, and the first week in January we said WE’RE DOING IT! To give you an idea of the layout of the space, the room was shaped like a ‘U’. On the left side of the U was the workshop, and on the right ride of the U was the laundry room. At the bottom of the U was the entrance into the home from the garage. So, we decided to build some walls and make a backwards L shaped room where the bottom of the L is the entrance from the garage and a mudroom, and the laundry room on the right side of the backwards L. Okay - now that I’ve officially confused you, let’s take a look at some photos!
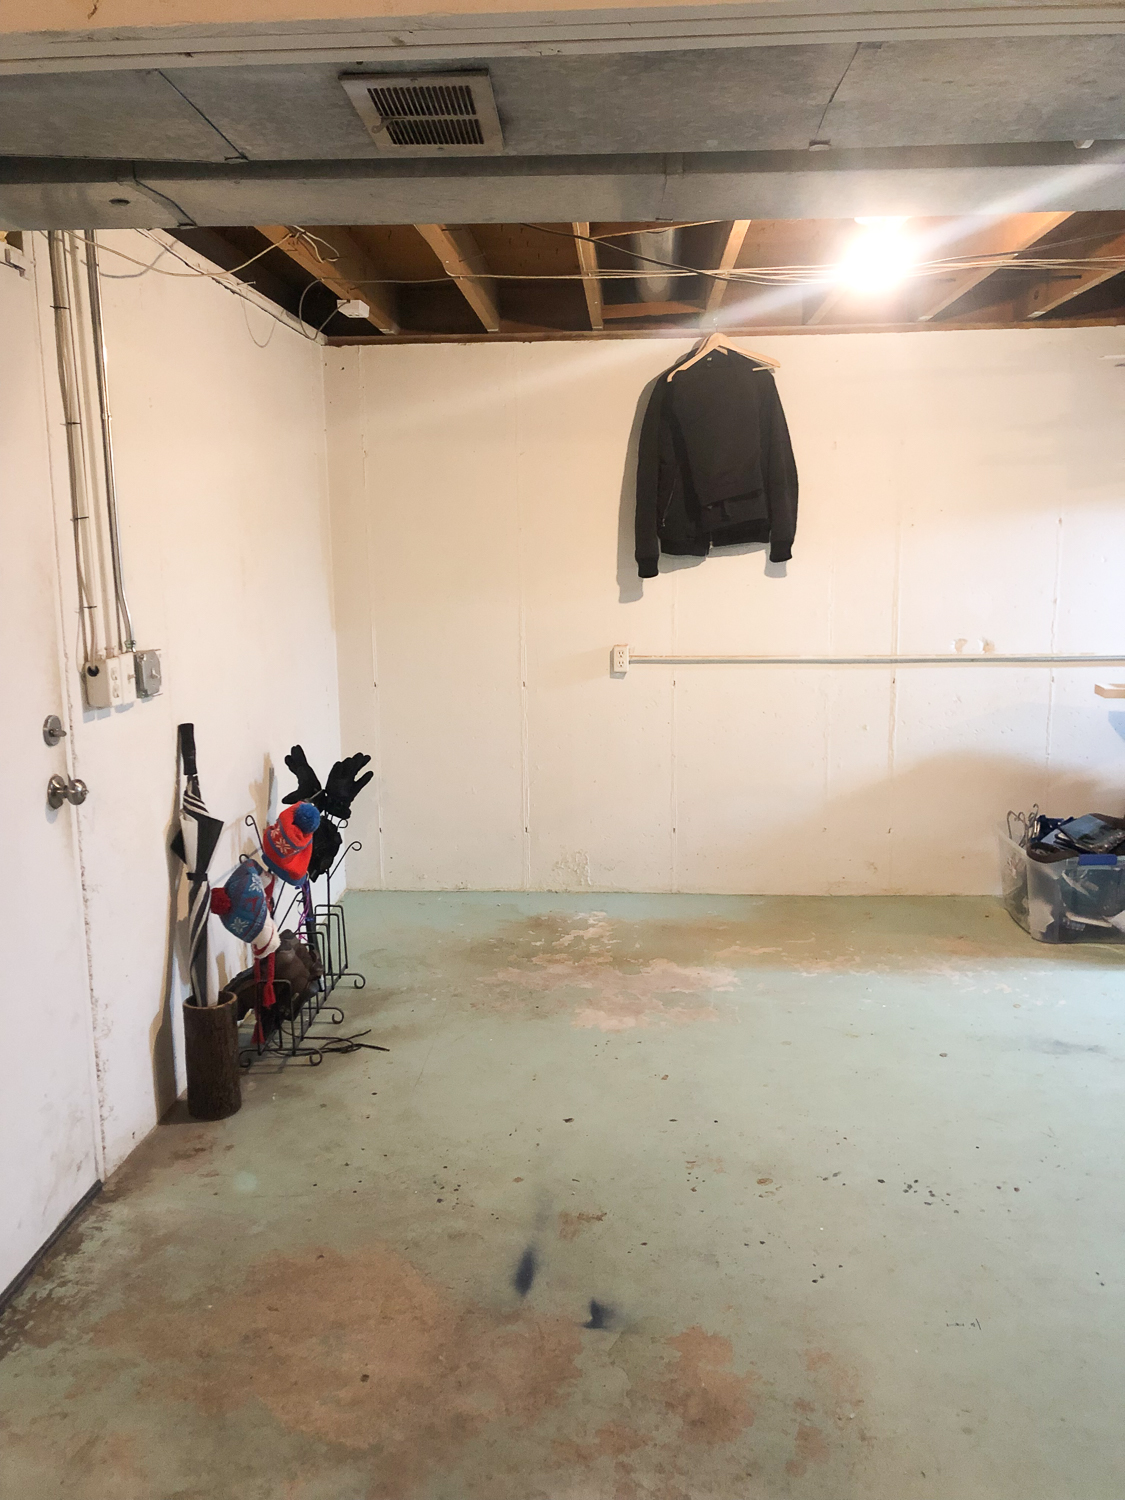
That conduit on the wall lead into the workshop. The door on the left is the bottom of the ‘U’ and the entrance into the garage
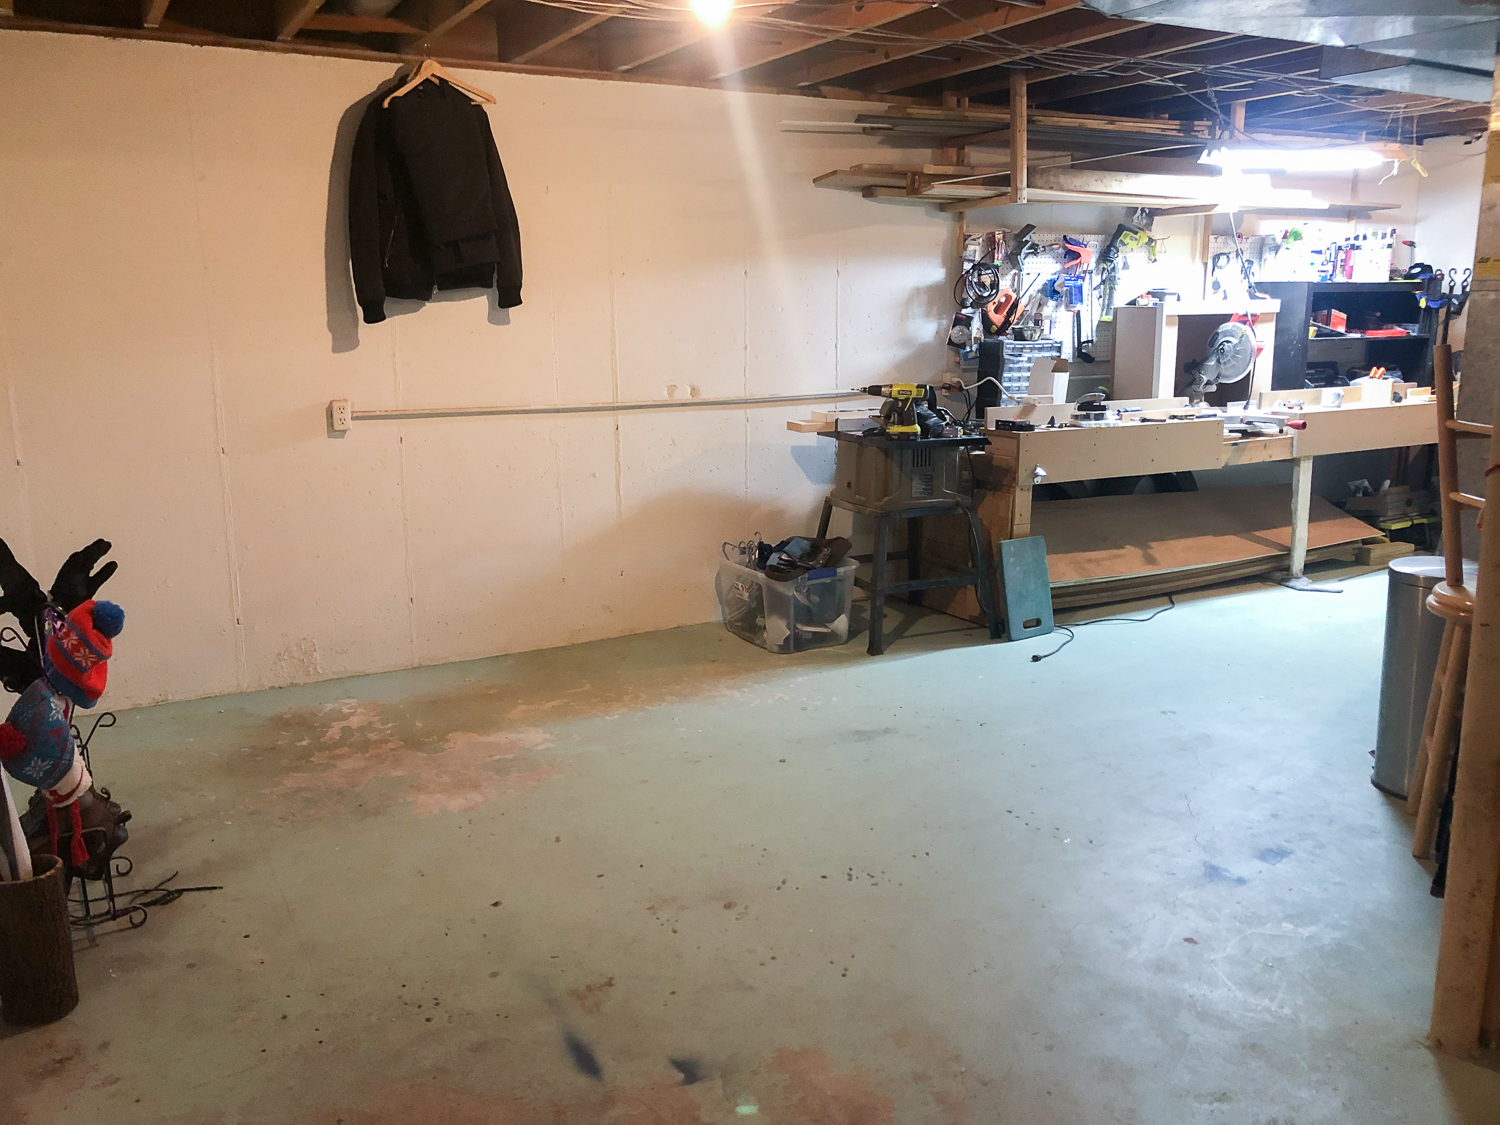
The left side of the U shaped room was the workshop. Here, you can see the same wall conduit you saw in the last photo continuing into the workshop
The workshop and what would soon become the mudroom. To my left while taking this photo is the entrance into the garage
The bottom of the ‘U’ shaped room - the entrance into the garage and the wall that would soon become the mudroom
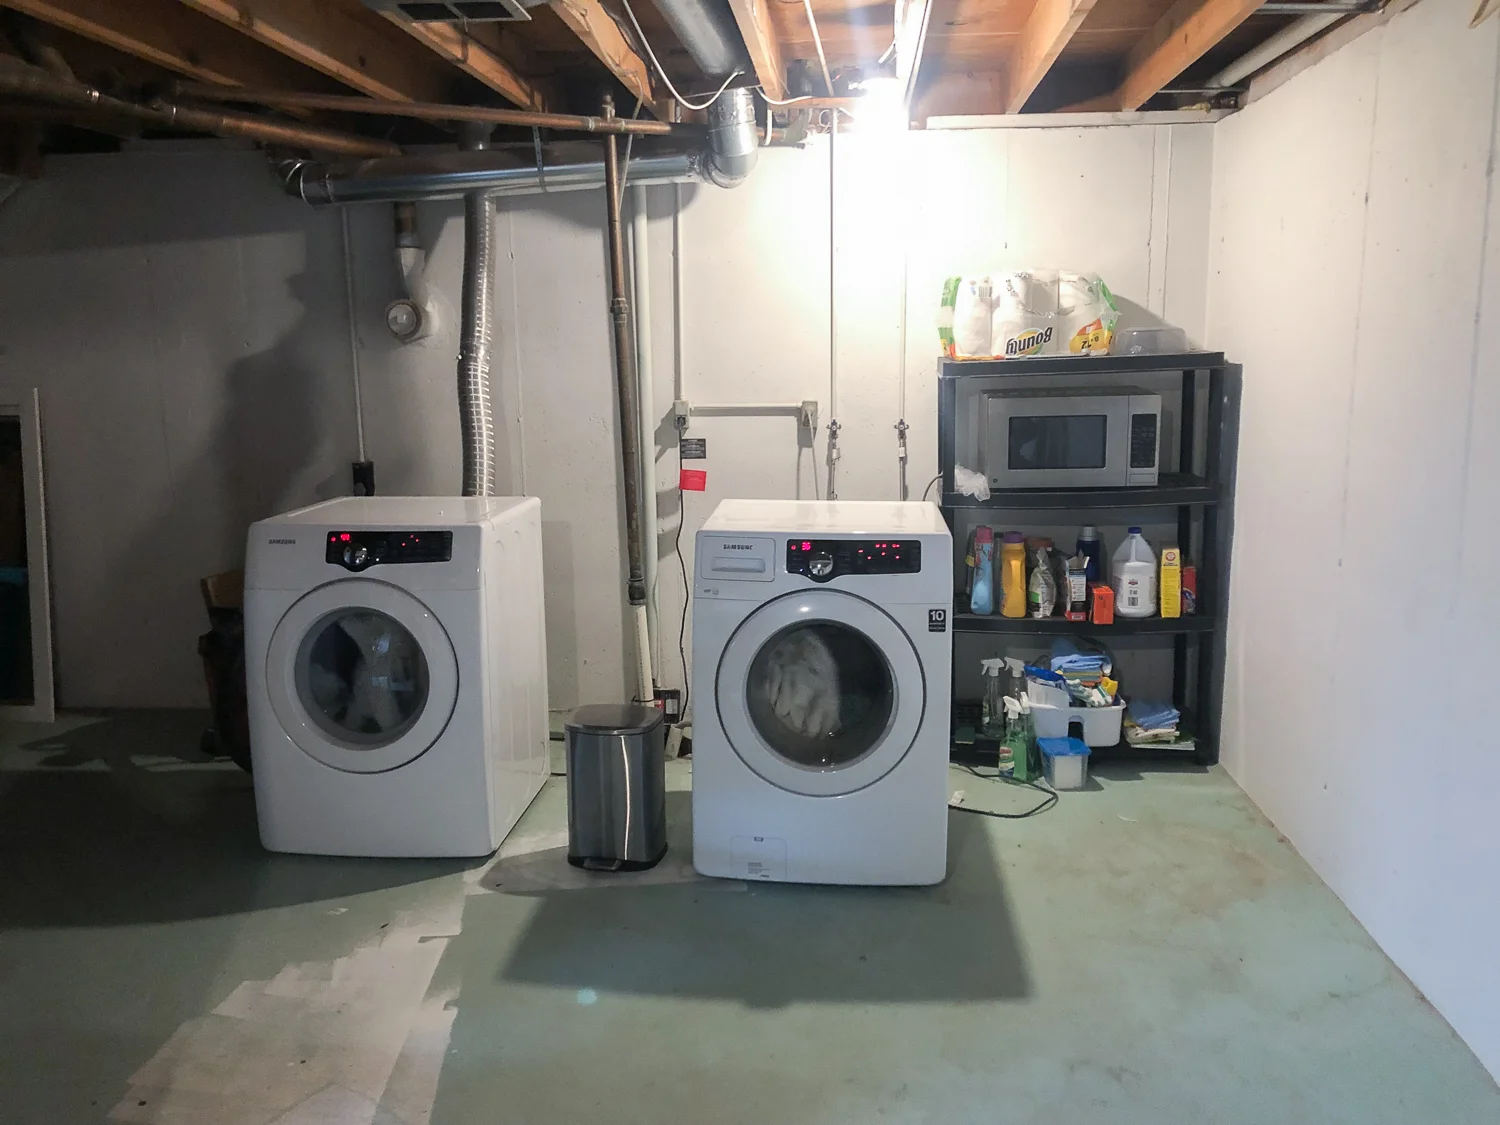
The right side of the ‘U’ - the laundry room. There was a hole in the concrete floor for the sump pump in between the washer and dryer, so I was never able to have the washer and dryer pushed together.
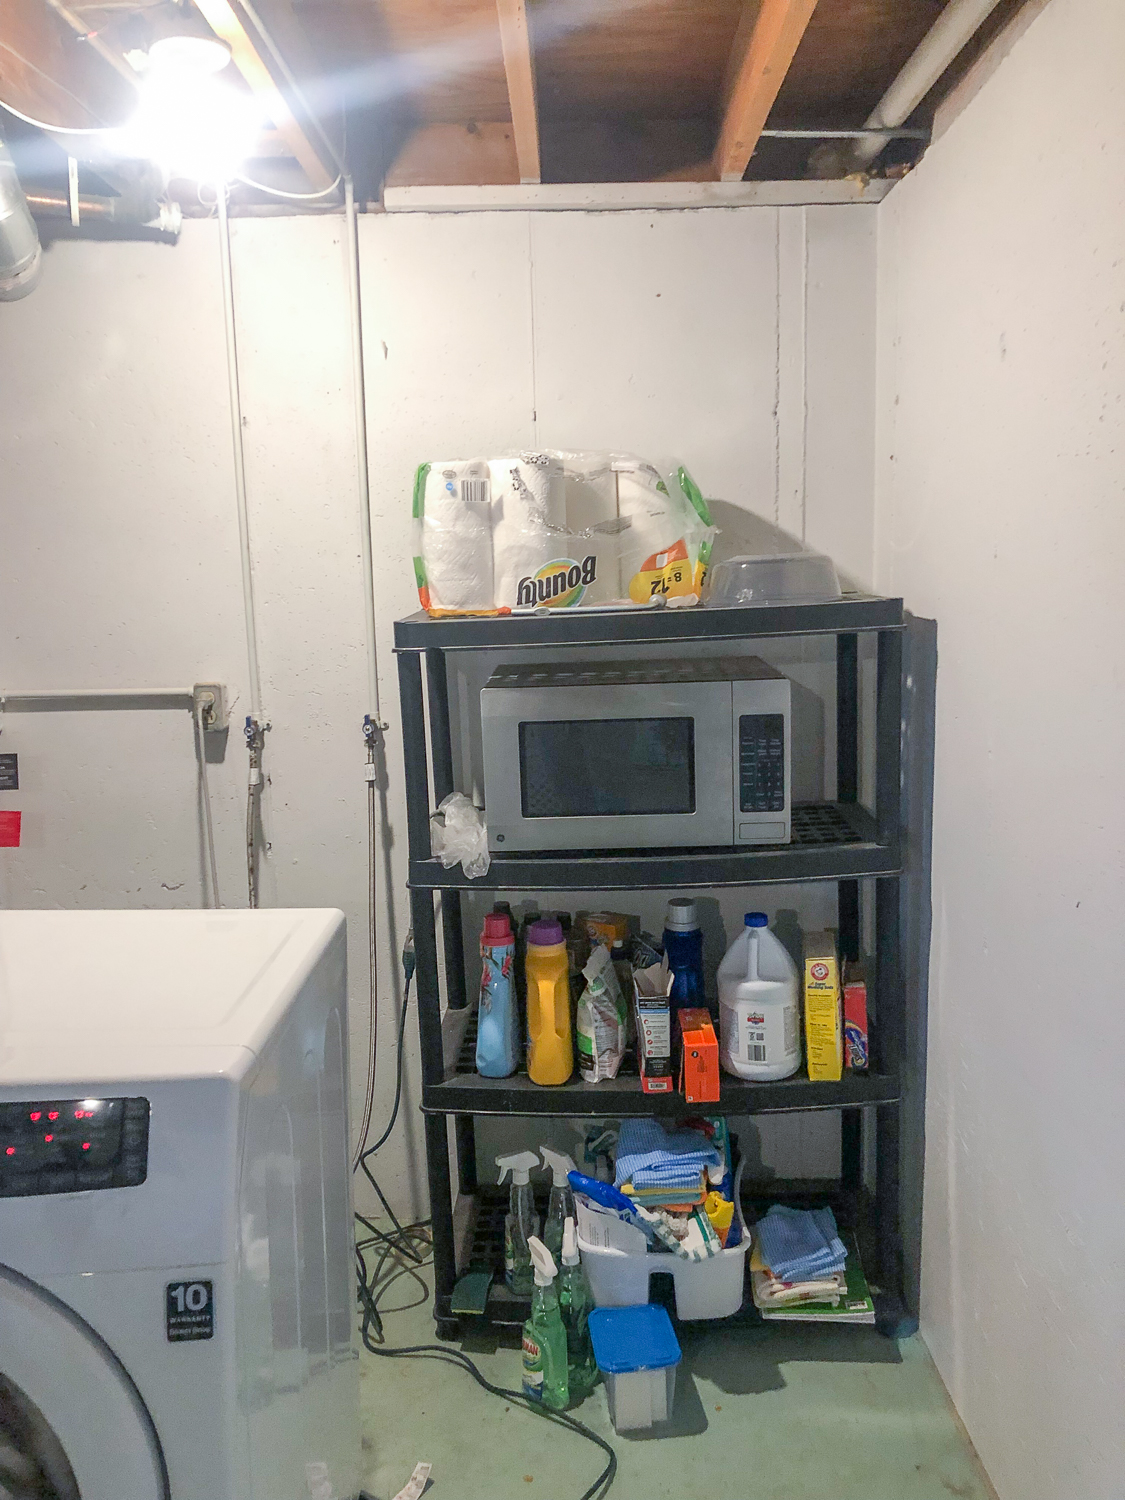
The door on the left of this photo is the entrance to the rest of our finished home and leads to the stairs that go upstairs
Storage was… an issue. Also - I have a thing with microwaves and that thing is - I hate them. We hardly ever use a microwave, and I don’t want to look at one every day, so our microwave is actually in our basement. In fact, we didn’t even have a microwave for 2 years because we so rarely used one, but alas - we caved under the requirement that I wouldn’t have to see it while I’m cooking.
Okay, now that we have that out of the way, and you have all judged me for my terribly ugly, no good, very bad laundry room, let’s get to the good stuff! We hired an electrician to wire the can lights in our new space and replace the entire electrical panel on our home. We also had the flooring installed. Aside from that, my husband and I tackled the entire renovation including framing, drywall, painting, cabinetry install, trim install, tiling, countertops, plumbing, and oh! I’m sure I’m missing something! It was a lot of work, but what else is there to do during the winter in Michigan?
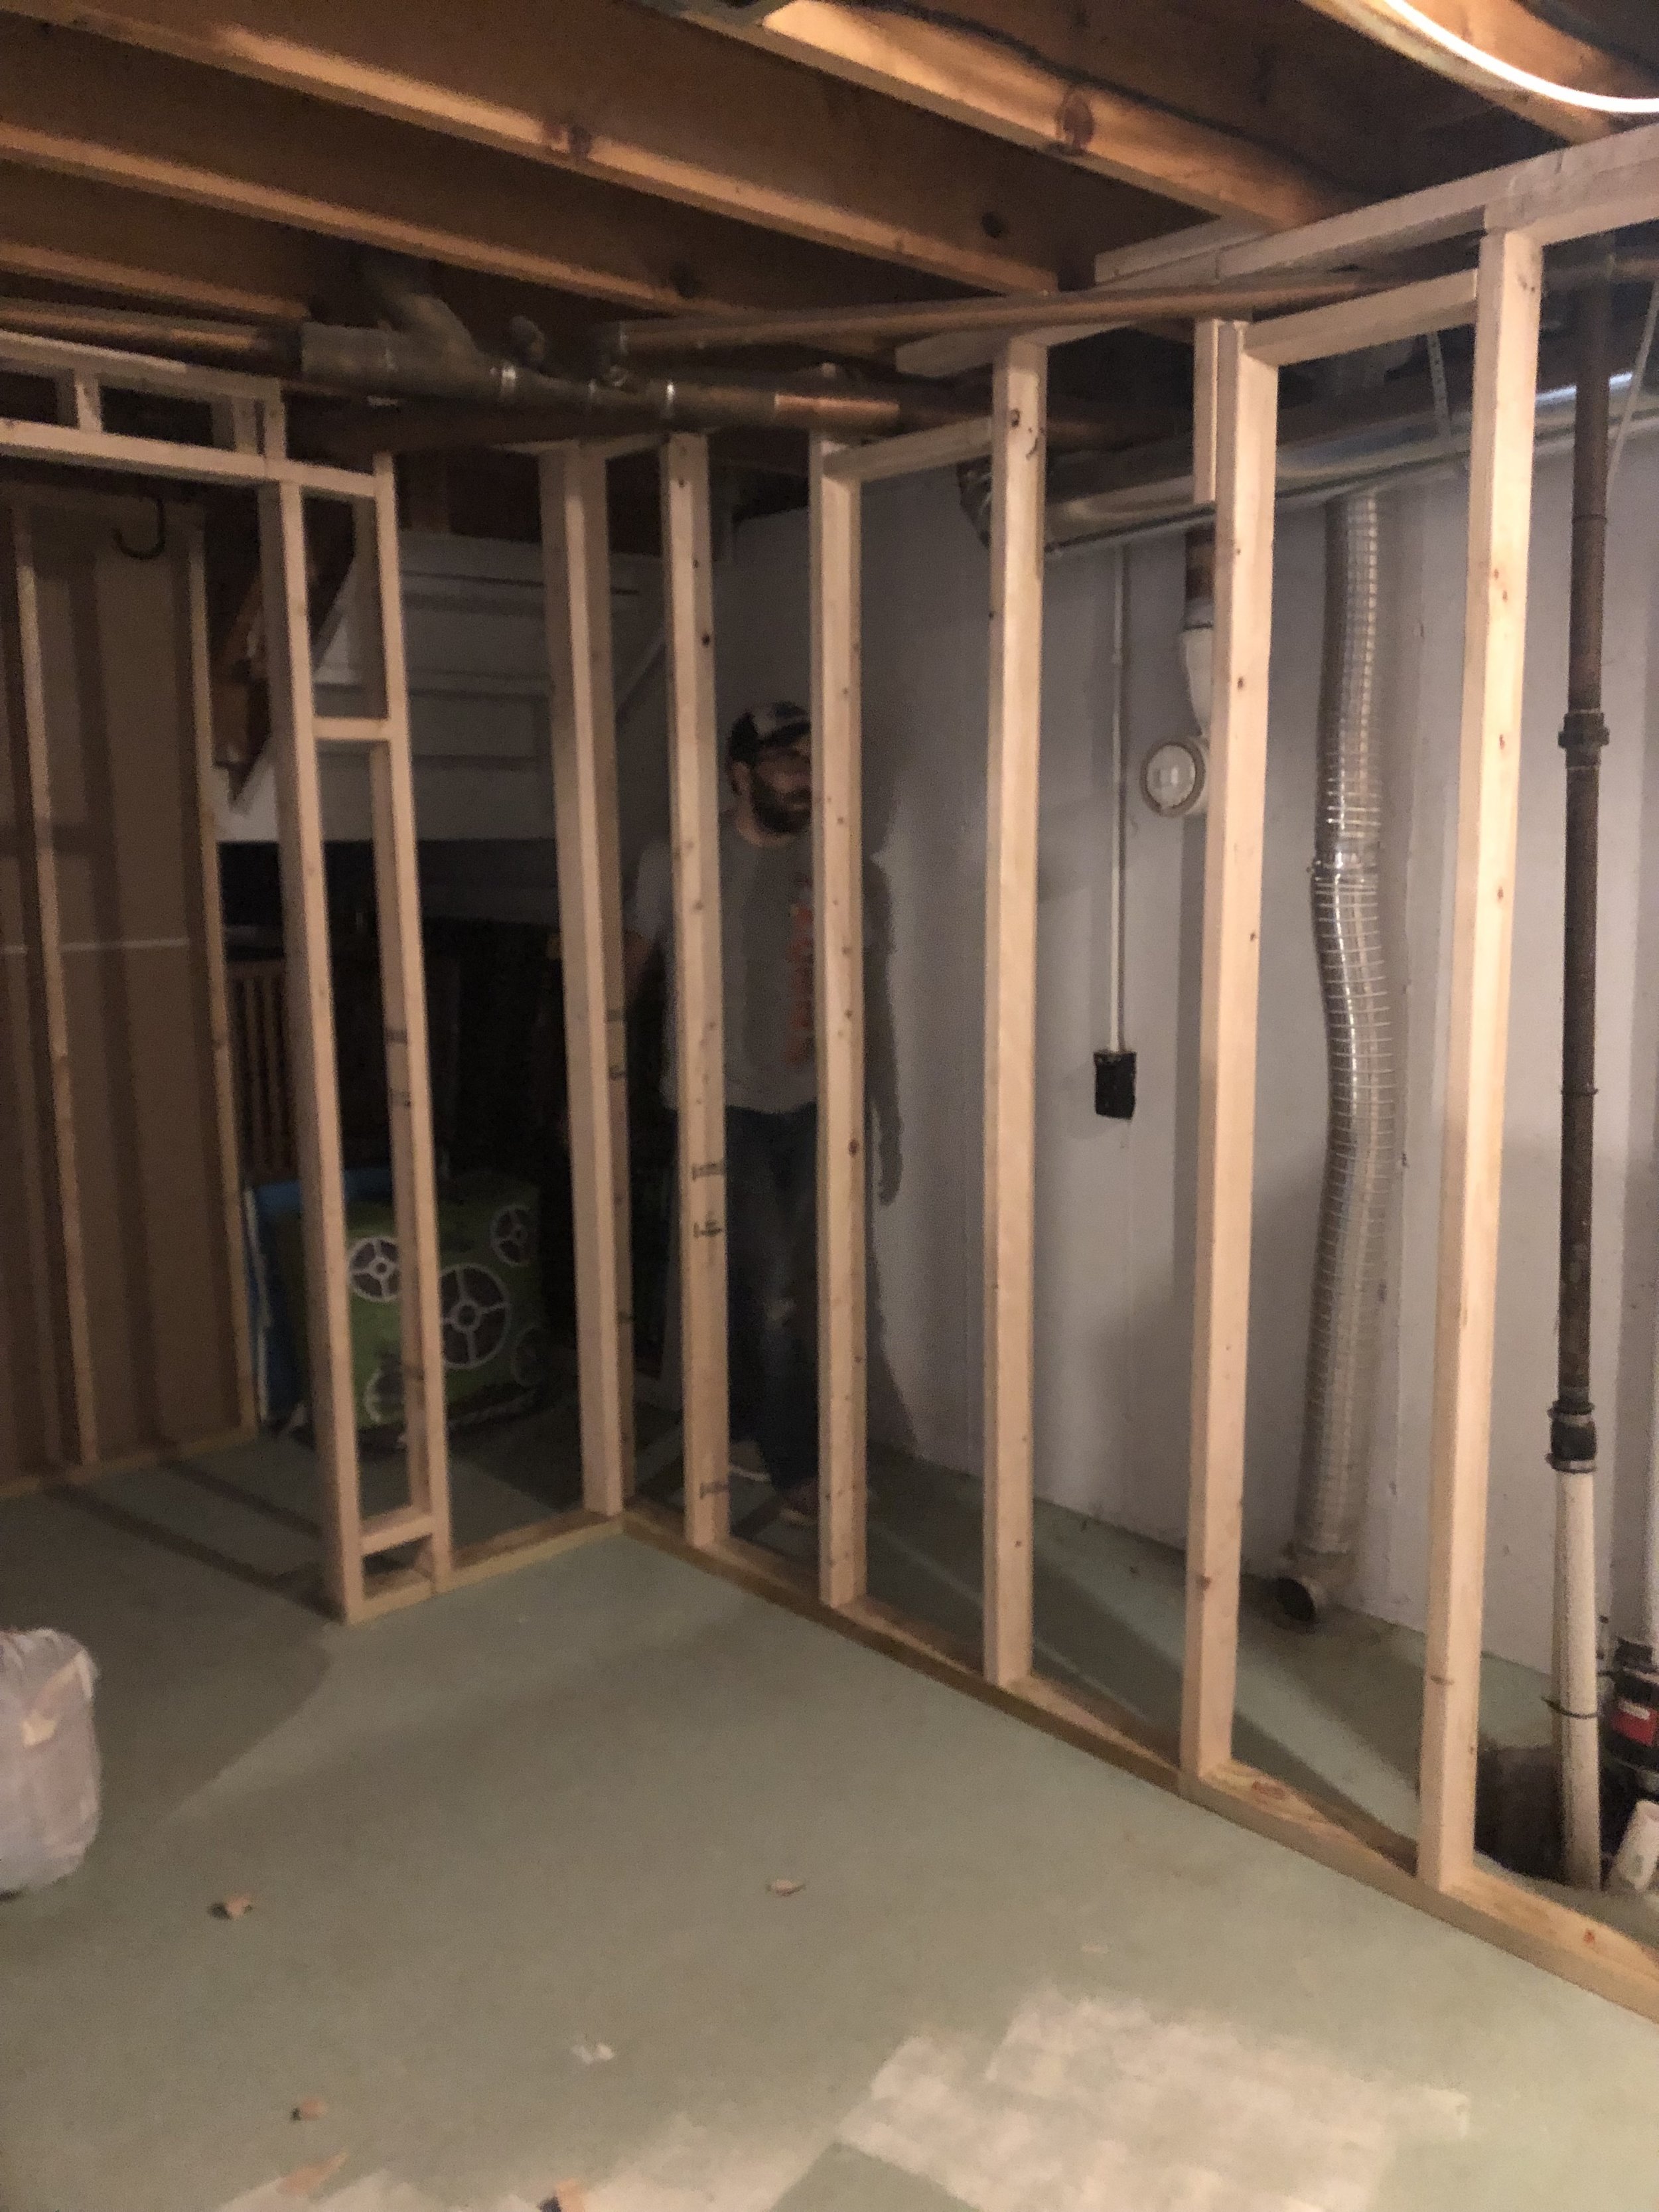
This is the washer and dryer wall. Because of the sump pump and the huge amount of piping on that wall for plumbing, drainage, and HVAC, we decided to frame it out and create a closet behind the washer and dryer so it can still be accessed, but it allowed us to have a clean, pipe free wall for the washer and dryer.
I know I do this for a living and every thing, but man - my space planning for this renovation was genius. We framed out two closets between the workshop and the new mudroom space. This wall would serve as the divide for the workshop that would remain unfinished and the new, fully-finished mudroom and laundry room.
The closets are a little easier to decipher with drywall on them as you can see here.
Had we ever tackled drywall before? Nope! Is it worth every penny to have someone else do it? Yup! Would we do it again? Absolutely not. BUT! We are happy we at least know how now, and can fully appreciate it when we do pay someone else to do it in the future.
So. Much. Sanding. I think I still have drywall dust in my hair.
On a Saturday when my husband was hanging the drywall, I decided to take a trip to the local Habitat for Humanity Restore with my mom and see what I could find. This is an amazing organization, and I love to support them when I can. Lucky for me, I found two matching 8’ solid oak doors for $25 a piece! These would be around $500 a piece brand new, so this was a huge savings and a rare find!
I also scored this Kohler cast iron, navy blue enameled sink for … wait for iiiit… $18.75. This particular sink is now discontinued, but similar Kohler sinks retail for between $800-$1200! I could hardly believe it, and the color was absolutely perfect! Under $75 and I had my sink and my two doors!
We decided to spray the ceiling black to hide all of the HVAC, electrical conduit, and plumbing that runs between the floor joists for the main level. These hazmat suits came in handy!
The space was one of those projects where it had to keep getting worse and worse before it could get better.
The door on the left is the entrance into the rest of our home. The door on the right is the entrance into the new closet we created that goes behind the washer and dryer to access the sump pump and drainage pipes.
Hallelujah! The can lighting made this room start to feel like a room and less like a dungeon.
Remember those oak doors I bought? Here’s where the genius space planning comes in. When the doors are closed, it closes off the unfinished workshop. When they are open, it allows a large space for my husband to get long lumber into the workshop and closes off the shoe closet and coat closet so sawdust doesn’t get on our things when he’s working! Admittedly, I don’t actual love the look of sliding barn doors for our 1969 ranch because - umm… it’s not a farmhouse. But, in this case, we didn’t have room for full swing doors and the functionality of the sliding doors won over the aesthetic of them.
See? Shoe closet and coat closet be gone with you! Oh - and that little white cabinet on the right? That’s a built-in ironing board!
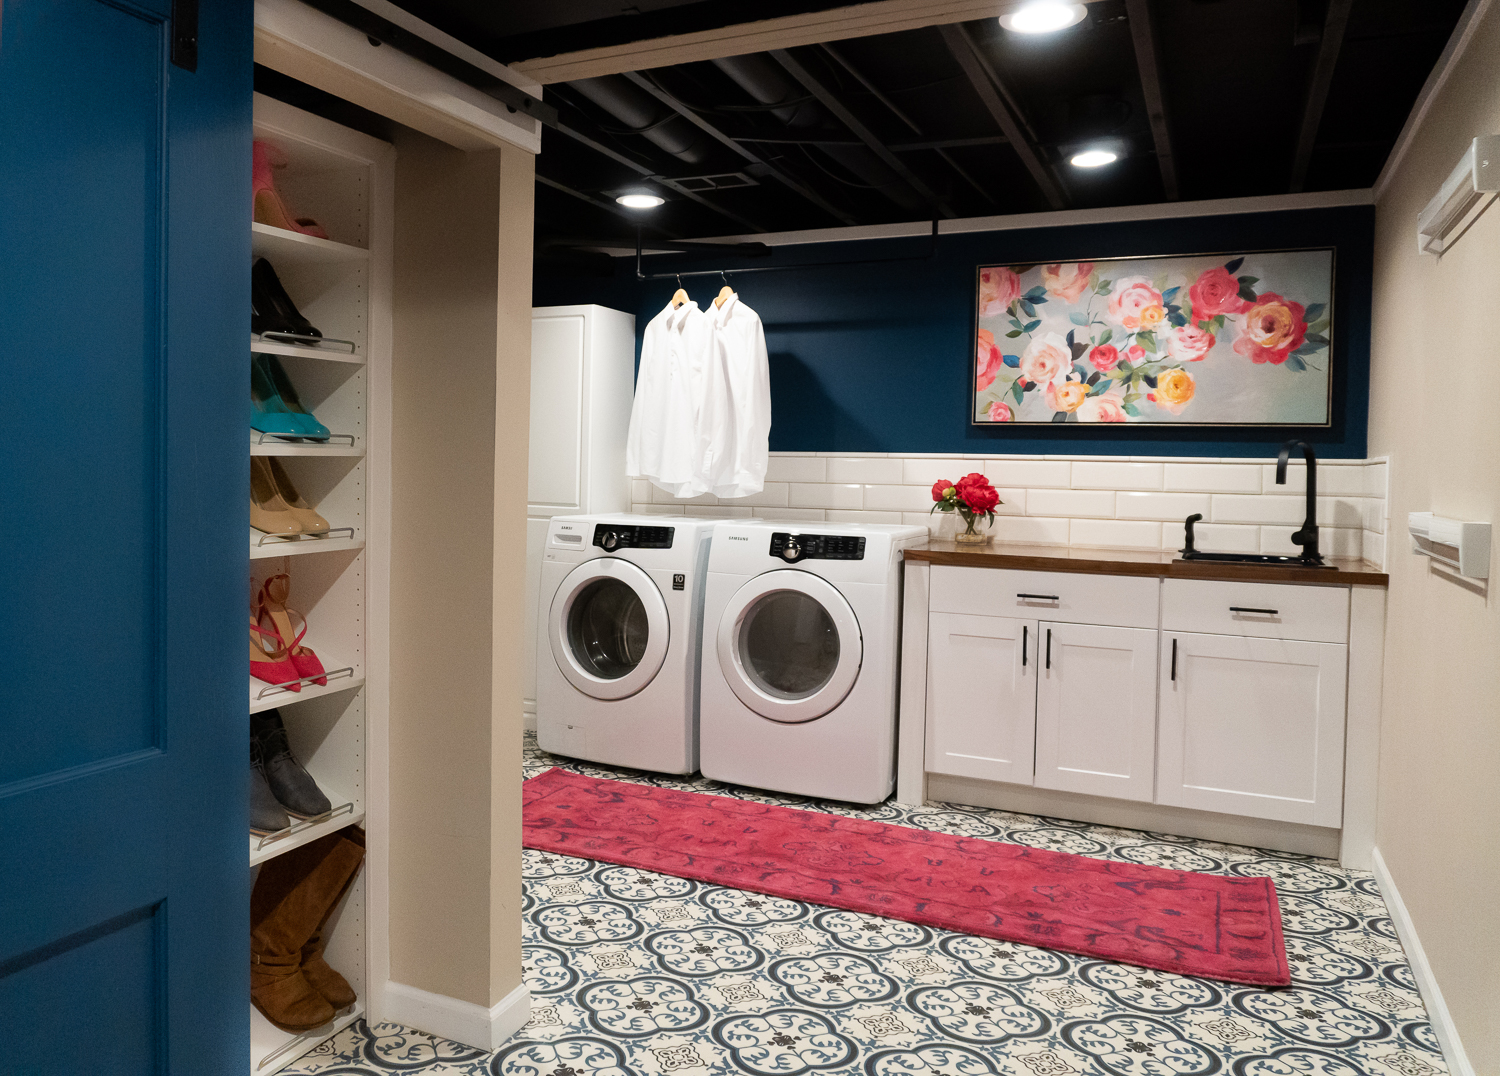
This image is a great shot that shows how the laundry room and the mudroom relate to each other now. That black door is the entrance from the garage and to the left of this shot is the laundry room. Those drying racks are possibly my favorite feature in the entire laundry room. After five years of drying my clothes draped over laundry baskets and doorknobs, I vow to never take these babies for granted!
These drying racks collapse flat against the wall when they’re not in use.
Okay … are you ready to see the AFTER photos!? I can’t wait for you to see it! But first let’s take one more quick look at the BEFORE.
Here’s what the drying racks look like when they’re closed!
Now, I know what you’re thinking. Autumn… where is the microwave!? What laundry room is complete without a well-planned spot for the microwave!? Well. You better believe I had our electrician put an outlet inside of that tall cabinet….
Ta da! I shall never look at a microwave again!
OPEN!
SHUT!
This room feels like it was always meant to be this way. We had a lot of obstacles to work around with the existing mechanicals on top of a structural pole in the middle of the room, and I’m so pleased with how it all laid out. We have a lot of pride in the space having done the work ourselves, but also… maybe someone else can do the work next time? I’m exhausted. Who wants to come do laundry?!

